

Do you remember that?
And then you were like, "Wowza! That's fantastic!! I'm so gonna check back this week and next week" And then I was like:
"..........................................."
Guess what folks. Life happened and I'm not gonna lie, I may have had a mild case of crafter's block.....and laziness. Also, I'm not delusional enough to think that you all have been waiting on pins and needles for tutorials from me. Cause let's face it, there are a bajillion amazing blogs out there keeping the party rolling always!
But hey, I do have a tutorial for you today!
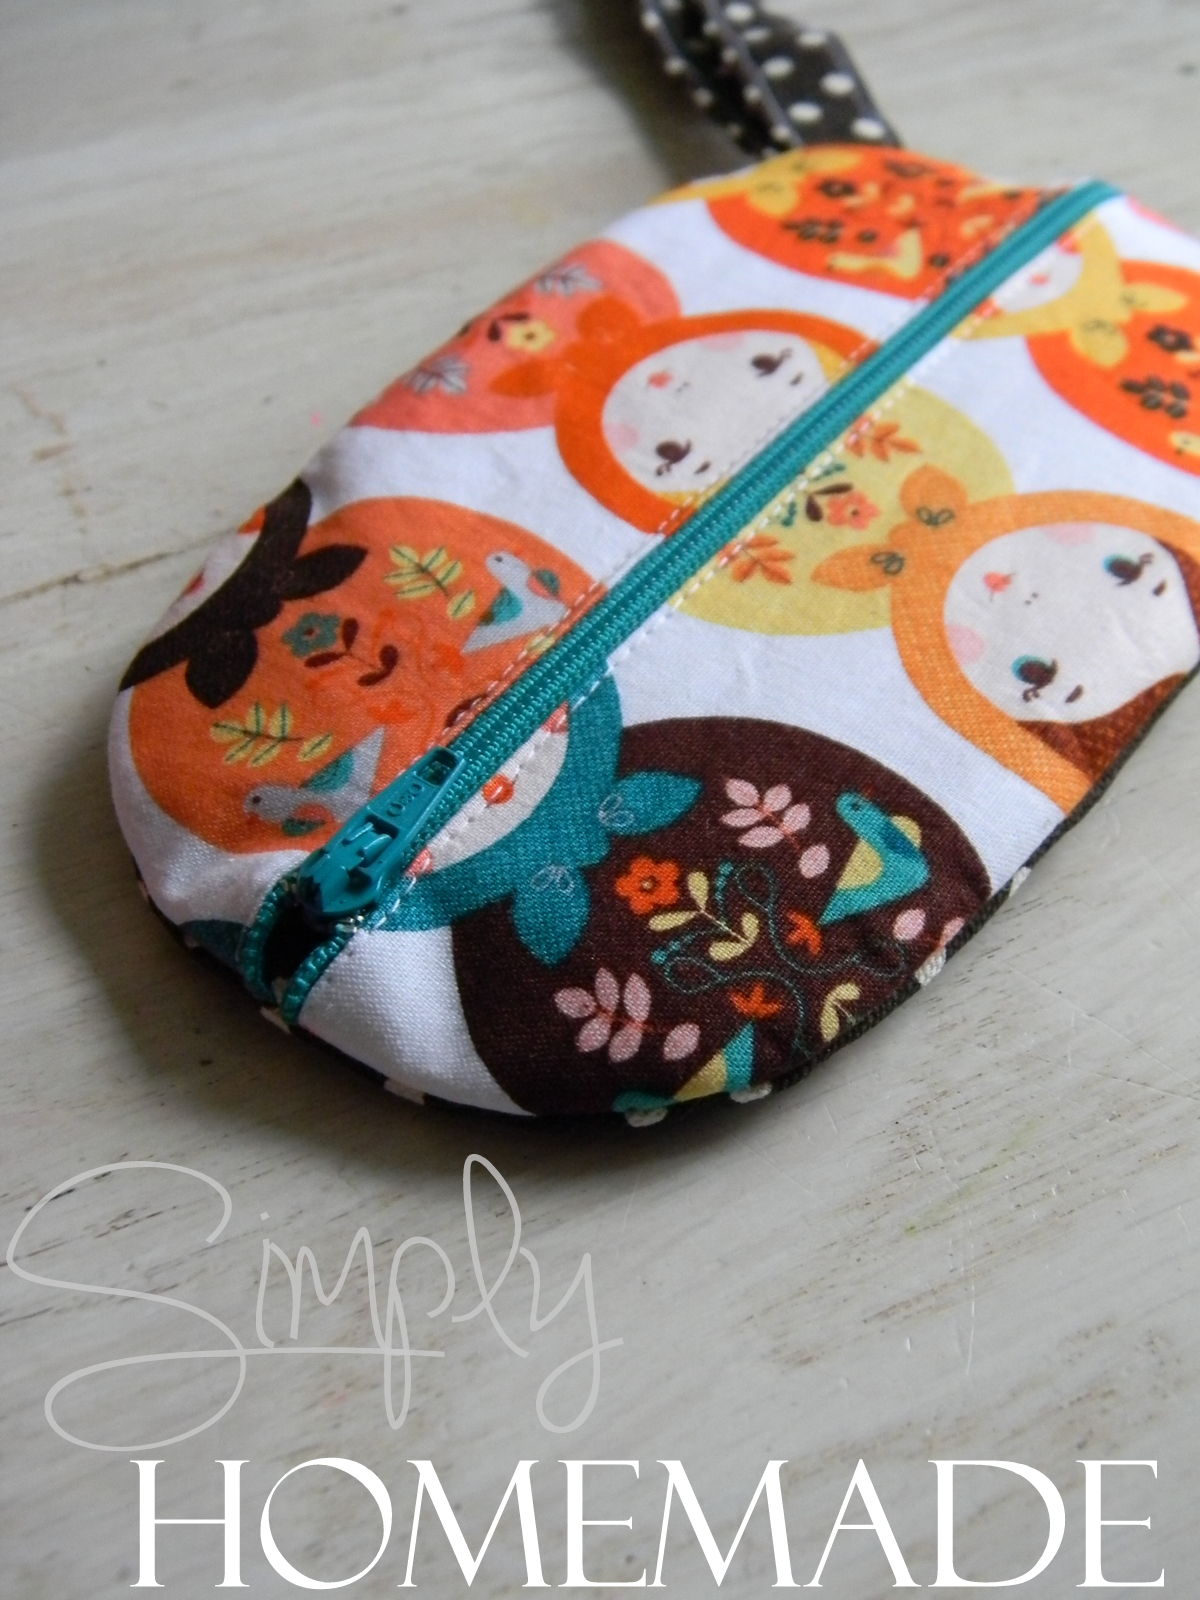
It's a little zippered pouch.....like really little.
And you know what? I kind of really love it!
Here's what you'll need for this project:
* 2 cute coordinating fabrics one 7 x 10 inches the other 10 x 10 inches
* 1 7-9 inch zipper
* Needle and thread
* a scrap of fusible interfacing (optional)
* lip gloss and some cash (to throw into your fun new zippered pouch!)

Use a sheet of printer paper to make your pattern.
My ovals are 4.5" x 7". You can make them whatever size you want of course just be sure to buy a long enough zipper.

For a refresher check out the zipper insertion tute


Like this:


I love this!!!!
ReplyDelete